Wednesday, February 3, 2021

Altenew Love and Friendship Stamps, Dies, Stencils and Embossing Folders Collection Release Blog Hop and Giveaway


Hello! I'm thrilled and honoured to be among such wonderfully talented company for the Altenew February release party which is packed full of fabulous products sure to spark your creativity! 

If you are here from Anna Mahtani's blog you're in the right place. If you want to make sure you don't miss any inspiration, click back to the Altenew blog to start at the beginning.

Here's a quick look at all the new products, if you see something you like, pick it up right away as items sell out quickly!
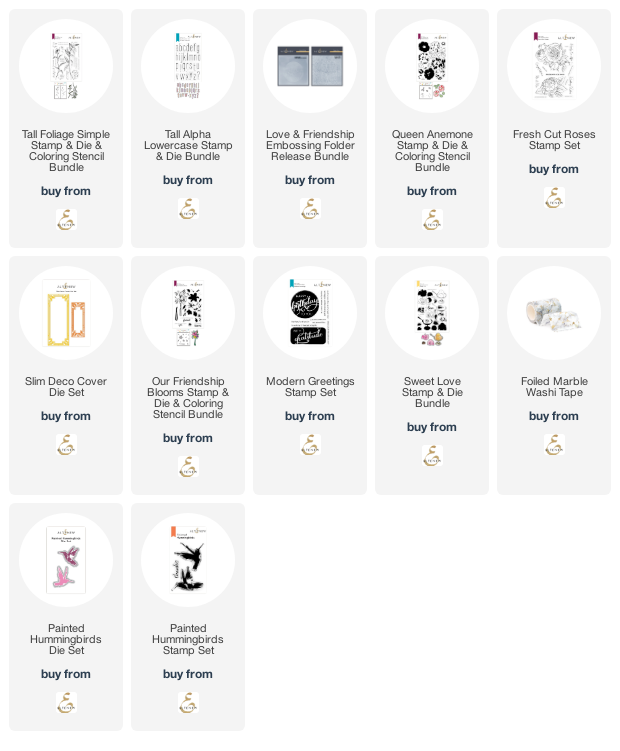


Tall Foliage Stamp/Slim Deco Cover Die/Organic Linen 3D Embossing Folder


There are two sizes of dies in the Slim Deco Cover Die set, this card uses the small die which I cut 3 times then placed from top to bottom across an A2 card front embossed with the Organic Linen 3D Embossing Folder. The edges of the die cuts were trimmed along the edge of the card front.


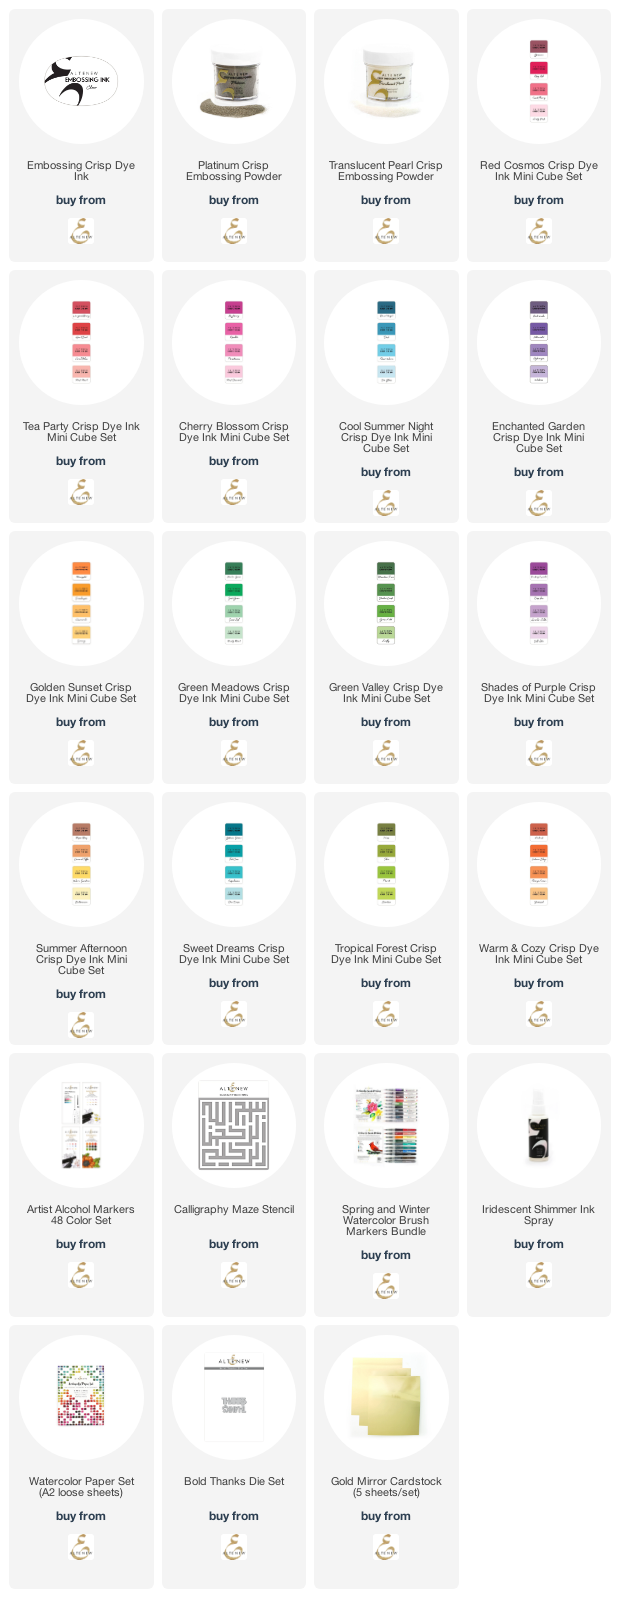
I stamped the images from the Tall Foliage Stamp set in Clear Embossing ink, covered with Platinum Embossing powder and then heat set. The sentiment is heat embossed and layered over metallic thread.


Modern Greetings Stamp Set

This is a large stamp set that can easily take center stage on your card. 


This image is stamped multiple times with Vanilla Cream, Aqualicious, Sweet Leaf, Sunkissed and Heartbeat ink.


I've got a short video walking you through the details of creating this card:


For this card I stamped the image multiple times in Heartbeat, Sunkissed, Warm Sunshine, Sweet Leaf, Persian Blue, a combination of Lavender Fields and Desert Night, and Deep Iris. Each image is fussy and then cut apart and pieced back together in rainbow order.


I adhered the pieced image with foam adhesive to a watercolor washed card front which I added a little bit of iridescent paste to with the Calligraphy Maze stencil.


The sentiment is stamped in Obisdian Pigment ink and heat embossed with Crystal Clear Embossing Powder. 


Did you know a group of hummingbirds is called a charm? I've stamped a charm of hummingbirds for this card. 

The lighter colored images were created by inking the stamp and then misting with water before stamping on the paper. 
The images are all die cut with the matching die and the black card stock is misted with Iridescent Spray Ink before creating the background of hummingbirds.


I colored a small piece of alcohol marker friendly paper with the following Artist Markers:

-WG03 Evening Gray

and then die cut Thanks with the Bold Thanks Die.

Painted Hummingbirds/Slim Deco Cover Die/Tall Foliage Stamp & Die Set


I die cut the large die in the Slim Deco Cover Die set from kraft card stock three times then stamped the images from the Tall Foliage Stamp set on mixed media card stock with watercolour ink. 
Brush the stamp directly with the watercolor brush marker, spritz with a little water and stamp. 
Hummingbirds are stamped in Coral Bliss, Sweet Leaf, Just Green, Sunkissed and Evening Gray. Once dry, die cut all with matching dies.

Black splatters are added with the Jet Black Watercolor Brush Marker prior to adhering die cuts.


After adhering all die cuts, I double matted the photo, popped it up with foam tape and created a visual triangle around it with hummingbirds.


Painted Hummingbirds/Slim Deco Cover Die/Tall Foliage Stamp Set & Coloring Stencil


I die cut the large die from the Slim Deco Cover die set in Gold Mirror card stock and framed the watercolored Tall Foliage Stamp Set floral image.


The image has been watercolored by adding a small amount of Warm Sunshine ink through the Tall Foliage Simple Coloring Stencil and blending it out with water. 

The leaves are colored in the same manner with Moss watercolor ink.

Tall Foliage Stamp Set and Simple Coloring Stencil


A super easy way to use this stamp is to create background by stamping the leafy image multiple times in Jet Black dye ink, then coloring the leaves with the Tall Foliage Simple Coloring Stencil in Moss Ink.


I created my own shade of green card stock to die cut Hello by inking a piece of white card stock with Parrot and Olive dye ink


The shadow hello layer is cut from black card stock.


That's it for me today but before you go, check out the special offers and prizes below.

Your next stop is Teresea Litchfield and you can find a complete hop list at the end of this post :).

Freebies!


Here are THREE ways to get a FREEBIE to kickstart your creativity! 


Prizes!

$300 in total prizes!

To celebrate this release, Altenew is giving away a $50 gift certificate to 2 lucky winners and a $20 gift certificate to 10 winners!

Please leave a comment on the Altenew Card Blog and/or each designer’s blog post on the blog hop list below by 02/08/2021 for a chance to win. Altenew will draw 12 random winners from the comments left on each stop of this blog hop and announce the winners on the Altenew Winners Page on 02/11/2021.

Blog Hop Order


Monday, February 1, 2021

Altenew Build-A-Flower: Bellaroma Hybrid Tea Rose Release Blog Hop + Giveaway


Happy February and welcome here!

Thanks for joining me for as we introduce the newest member of the Altenew Build-A-Flower family:


If you are hopping along in order you will have come from Tenia Nelson's blog

If you are not hopping in order you may want to start at the beginning at the  Altenew Card Blog and see what all the designers have created.

 Leave a comment on each blog for the opportunity to win a prize!


This post contains affiliate links, shopping through these are at no extra cost to you and helps support this blog to offer inspiration to you :). I appreciate and thank you for your support! 
This set has one flower with four layers and a cluster of three leaves with three layers. 
What makes this stamp special is that the layers are created in such a way that they can be used to give contrasting colors to the flower, or you can choose to layer them with shades of the same color. Use your imagination as you try out different ink color combinations with the Bellaroma Hybrid Tea Rose.

Interested in a Build-A Flower subscription? Altenew is offering subscriptions at 14% off the monthly plan price so you can start yours with the Bellaroma Hybrid Tea Rose by clicking this link.

Would you like to bundle your stamp and die set with coordinated ink colors? Then the Build-A-Flower: Bellaroma Hybrid Tea Rose Layering stamp and die and ink bundle set is for you!


Now on to the inspiration :).


Faux-Watercolor Stamping Card


This is an easy technique you can experiment with on any stamp set. You'll get best results using watercolor paper as regular card stock won't tolerate the water.

Stamp the outline image in Permanent Black ink and then ink the next layer, mist with clean water and stamp, continue to stamp each layer in the same manner. You'll need to let each layer dry or dry with a heat tool if you're in a hurry. 

Prior to stamping the leaves, I stamped and cut a mask for the flower.
I've inked the flower and leaves with the following colors:


I added ink splatters with the Jet Black Watercolor Brushmarker before removing the mask.


Heat emboss the sentiment from the BAF set with Rose Gold embossing powder and adhere panel to an A2 card base.


I have a quick video walking you through making this card:


Layout: Never Stop Smiling 
My first love is scrapbooking so I love to get extra mileage out of my Altenew products by using them on my scrapbook layouts!


This Tea Rose is a great size to use on layouts, you can create a lovely cluster or a border as I have done and use up a good amount of real estate on your page.


I stamped six flowers, following the layering guide included with the set, in the following colours:


Leaves stamped with Sweet Leaf and Just Green and then flowers and leaves are die cut with the matching dies.

I placed two sheets of hexagon paper from the 6x6 Blushing Blooms paper pack and then added splatters of ink with the Jet Black Watercolor brushmarker. 

The leaves are adhered with liquid glue and the flowers with a combination of liquid glue and foam adhesive along the edge of the patterned paper.
Photo is matted on black card stock and then adhered to base with foam tape.


I added a few die-cut embellishments from the Live Your Dream collection and stamped the date with the Reflection Collection Roller Stamp.


Celebrating: Your Special Day Card

Heat embossing provides an easy way to create a quick, yet elegant card.
I started with a sheet of red card stock and cut a piece out at 3 1/4" high by 7 3/4" wide.


I then stamped the outline image from the set in Altenew Embossing Ink around the perimeter of the card, coated with Rose Gold Embossing powder and heat set. 


The sentiment is also heat embossed with Rose Gold Embossing powder and the edges of the card were inked with the Altenew Ink Blending tool and Heartbeat ink before mounting on a slimline card base. The dimensions I used are 8" long by 7 1/4"(folded in half).

Prizes!
$200 in total prizes! To celebrate this release, Altenew is giving away a $50 gift certificate
to 1 lucky winner and a $15 gift certificate to 10 winners!

Please leave a comment on the Altenew Card Blog and/or each designer’s blog post on the blog hop list below by 02/07/2021 for a chance to win.

Altenew will draw 11 random winners from the comments left on each stop of this blog hop and announce the winners on the Altenew Winners Page on 02/09/2021.

Blog Hop!
Your next stop on the hop is Verity Biddlecombe. Below is a complete hop list for your convenience.


Thursday, January 28, 2021

Altenew January Inspiration Challenge


Hello! 

Thanks for stopping by to take a look at my entry for the Altenew January Inspiration Challenge.

This post contains affiliate links, shopping through these are at no extra cost to you and helps support this blog to offer inspiration to you :). 

I appreciate and thank you greatly for your support!


With Valentine's Day around the corner I had my direction to use the Altenew Heart Builder stencil with Baby Pink and Coral Berry ink. 
I used the Altenew Large ink tool to ink this up and cleaned the tool by inking all the excess ink on a piece of white card stock which I subsequently used to die cut with the String Art Heart Die. I fussy cut the heart  prior to adding embroidery floss.


I die cut the circle in the front of the inked card front, in addition to cutting the front of the card base too, with the large die in the Halftone Circles Nesting die set to create a "peek-a-boo" window. As well, I cut a circle from paper in the 6x6 Essential Rock Collection paper pack.


To finish this off, I cut "XO" from the same grey paper as the large circle with the Fine Alphabet Die set, adhered to the card front and outlined with a black fineline pen.

Once again, thanks for stopping by!

Happy Crafting!


Monday, December 14, 2020

Altenew Educators Floral with Geometric Elements Blog Hop and Linky Party + Giveaway


Hello and welcome to the Floral with Geometric Elements Blog Hop!

If you're here from the talented Michelle Ochoa Murray's blog you are in the right place! 

No Altenew blog hop is complete without prizes right?

Prizes:

Altenew is giving away a $30 gift certificate to 1 lucky winner! Please leave a comment here on the Altenew Card Blog by 12/21/2020 for a chance to win. 

We’ll also draw a winner to receive a $15 Altenew gift certificate from the comments left on each designer’s blog on the blog hop list below. All winners will be announced on the Altenew Winners Page on 12/23/2020.


There’s MORE! What’s a hop without YOU?! We have included an Inlinkz on the Altenew Card Blog for you to enter your gorgeous Altenew “Floral with Geometric Elements” creations. We will pick 2 of our favorite handmade creations from those who joined the linky party and they will each receive a $15 Altenew gift certificate!

On to my first project, this is a super simple way to combine a floral with a geometric element and keep it a one layer card as well.


I stamped the Pattern Play Hexagon Background stamp with Silver Lake Crisp Dye ink. Using the Kind Reminders stencil, ink the base layer with Soft Lilac Crisp Dye ink and the detail layer with Lavender Fields and then Deep Iris Crisp Dye ink, concentrating the darker colour in the centre of the stencil.


I stamped the sentiment in Obsidian Pigment ink, coated with Crystal Clear embossing powder and heat embossed. As I was drafting this post I felt that the card was missing something. 


Sequins or Nuvo Drops would be a great addition but I wanted to keep this a one layer card so I covered the flower with a small Post It note and splattered Jet Black Watercolor ink with the watercolor brush marker. I also added a light spritz of Iridescent Shimmer Spray but the camera doesn't pick it up. The little bit of texture from the splatters is a simple yet effective finishing touch.

I've already made a couple of Christmas cards with the Modern Poinsettia stamp set this year so I had it sitting out and decide to give it a try with a geometric touch too!


I created an ombre effect by applying Emerald watercolor ink from the Winter Wonderland Watercolor Brush Markers set in a diagonal with the darkest shade of the color in the bottom right, lightening up to the top left. Once dry, I trimmed the panel to 4 in. x 5.25 in.

Next I die cut, with the Stacked Diamonds Cover die, from Altenew Gold Mirror card stock and 2-3 times from white card stock, then glued all the layers together and set aside to dry.

Then I stamped the poinsettia on Altenew water color paper in Altenew Embossing ink, covered with Rose Gold embossing powder and heat embossed. The bloom is watercolored with Ruby Red and Rouge Watercolor Brush Markers.


The stacked die cuts were adhered to the panel at an angle and trimmed to fit the panel.

Sentiment is heat embossed directly on the watercolored panel with Rose Gold embossing powder and poinsettia is adhered with foam tape.


The previous Educator blog hop was all about stencils and I had some extra panels left over so I used it for the following card.


I dry embossed the navy card stock with the Altenew Diamond Snowflakes stencil then die cut the diamond shape with the diamond die from the Geo Frames Die set.


Die cut the larger bloom from the Festive Clusters Die set in Gold Mirror card stock and adhere to the diamond die cut with liquid adhesive. 

Stamp the sentiment from the Pine Tree stamp set in embossing heat and heat emboss with Rose Gold embossing powder. 

Adhere the sentiment strip with foam tape over the die cut


To complete the card, I glued the navy card stock to a 4.25 in. x 5.5 in. gold mirror card stock panel and then adhered that to a white card base. 

The diamond die cut was then offset over the negative portion of the navy die cut card stock with foam tape.

I hope you've enjoyed these projects and if you are inspired to create something based on these, please tag me on social media @rosieneust so I can see what you create and don't forget to share your creations in the Linky Party happening on the Altenew Card Blog.

Your next stop on the hop is Patty Mello and below is the complete hop list.

Altenew Card Blog Start & Inklinz Party
Rosie Neustaedter>>You are Here
Patty Mello<<You're next stop

Wednesday, October 21, 2020

Celebrate...Thanks

Hello All! 

Thanks for stopping in to take a look at this Thank You card created using the Altenew/Pinkfresh Studio Collaboration.

These companies are a perfect match for each other to collaborate together. 


I stamped the Celebrate Today floral image with Memento Black ink, filled in all the open spaces with a base of Copic E50. I then coloured in all the florals and leaves with my Prismacolor Colored Pencils.

I die cut the image with the coordinating die and then popped it up with foam tape over a patterned paper from the 6x6 paper pack and a frame from the ephemera pack.


The sentiment is die cut from black card stock with the Altenew Bold Thanks Die set. The set includes a "shadow" die but I've just used the inner die. I also added some Wink of Stella clear glitter to the alphas but you can't see it in the photo.

This is a great stamp set that is easy to colour if you're dipping your toe into colouring stamps.

Thanks for taking a look :)

Happy Crafting!

Sunday, October 4, 2020

Altenew October Inspiration Challenge

Hello!

Loving the fall colours in this challenge :)


Here's what I created:


I inked a piece of cream coloured card stock with Altenew Firefly ink to create the light green colour. I then inked the first section of the Weave builder stencil with Almond Butter and Orange Cream ink. The second section of the stencil is inked with Mountain Pine and Hazelnut ink.

I then inked the tree stamp from the Birch Land stamp set in Chocolate ink, misted with water and stamped on Altenew watercolour card stock. Leaves are stamped with a combination of Warm Sunshine and Hazelnut ink.

Thanks for taking a look!


Fabulous Festive Folds! Scrapaganza Class!

Fabulous Festive Folds Scrapaganza Class! Join me for this in-person class at the 5th Annual Calgary Scrapaganza ! You’ll create 4 beautifu...