
Two posts in a row! Here is a second project for the Altenew June Challenge!

I practiced my watercolouring with a page from the Altenew Watercolor Coloring Book and the Altenew Artists Watercolor pan.
Two posts in a row! Here is a second project for the Altenew June Challenge!

Better late than never posting on the blog! I'm playing along with the Altenew June Challenge and here is my first project!

It's my first time using the Delightfully Dotty Press Plate!

***SOLD OUT***
Join me for an in-person class focused on mass-producing card front backgrounds!
You'll create 8+ backgrounds using various inky techniques, including:
3 versions of Ink Smooshing
Night Sky Ink Blending
Stencil Lift
Shadow Stenciling
And more!
Plus, enjoy 2 bonus panels featuring:
Relief Paste
Joseph’s Coat Technique
A fun, hands-on session perfect for building your cardmaking stash!
Date/Time: Saturday, September 27th, 2025, 10am-11:30amMT (90 minutes)
Location: Calgary Scrapaganza, Thorncliffe Greenview Community Center, 5600 Centre St.N, Calgary, Alberta
Cost of Class: $25*
* class kit is comprised of detailed instructions for background techniques, all premium cardstock needed for 8+ backgrounds, 1 stencil, 1 package of Altenew Gem Sparkles, 3 A2 card bases and die cuts to complete three cards. Class fee also includes your entry fee to the marketplace if you are not registered for the crop.
Register: email rosieneust@gmail.com...Subject Line Scrapaganza Class
Note: If you are not able to attend buy may be interested in a virtual option please email your interest to rosieneust@gmail.com.
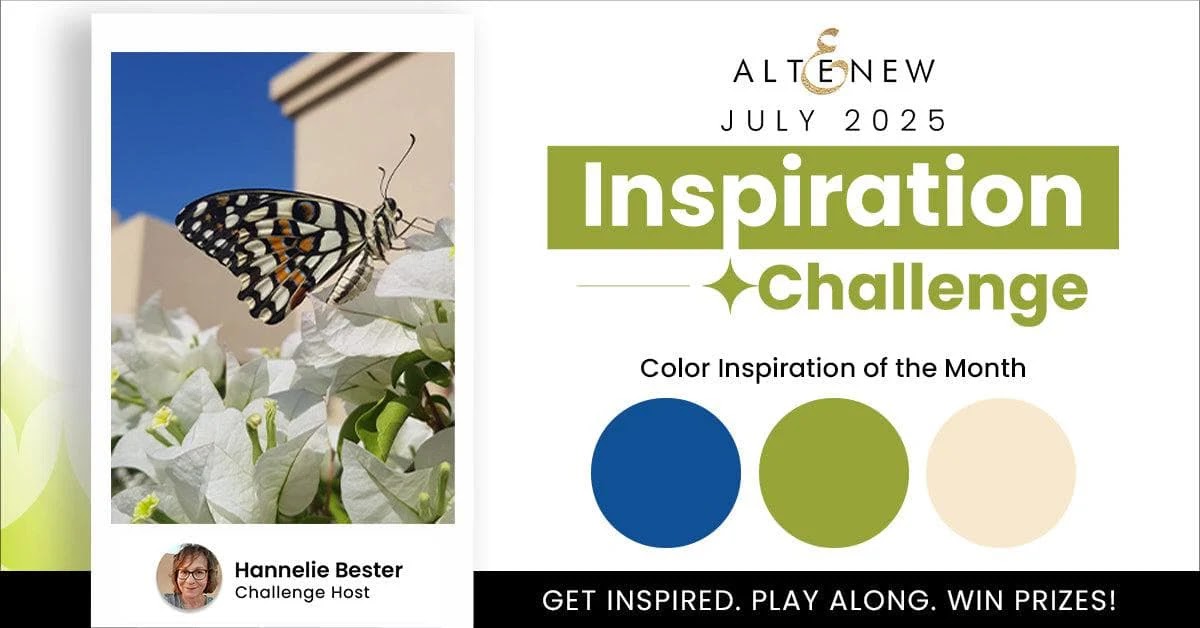
I'm playing along with the latest Altenew Inspiration Challenge!
I happened to be working on some Artist Trading Cards for a swap when I checked out the post and the colours I was using were the same as the colour inspiration!
What are Artist Trading Cards? 2.5" x 3.5" cards that are handmade, unique works or a small series work of art that may be inspired by a theme which can be traded with others.

I used the Let's Go stamp and stencil, Grass Field and Shadow Creek Fresh Dye Inks, Vanilla Cream, Caribbean Sky and Sapphire Crisp Dye Inks.
I added stars with the Milky Way stencil and Pearl Shimmer Relief Paste.
It's really fun creating these small pieces of art, a great way to play with techniques and supplies!
Thanks for stopping by!

I'm playing along with the latest inspiration challenge at Altenew and created a card with the Zero-Waste Flowery Pattern 3D Embossing Folder.

Here's a close up look:

I embossed two panels, inking the embossing folder and then running a white card stock panel through the die cut machine to transfer the ink to the paper.
I fussy cut the florals from the second embossed white panel, inked with Aqualicious Fresh Dye Ink and then adhered to the first panel with Instant Dimension Foam Tape. I embellished with enamel dots and Satin Gold sequins after misting the panel with Iridescent Ink Spray.
Thanks for stopping in!
Hello Krafty Friends!
We are recapping the fabulous Kraftin' Kimmie Stamps October/November Release this weekend!
I'm re-sharing this fun card I created for the Have An Ice Day stamp set release a Krafty Komeback set!
I created the wooded background with the Birch Tree Stencil, inking the trees with Sandy Shores Ink and adding details to the trees with a Prismacolor colored pencil. I added some colour to the sky with Copic markers.

I LOVE that scarf flying behind this skier as he speeds down the hill! I adhered the image with foam adhesive over the glitter card stock ski hill.
Check out all the New Goodies still available by clicking HERE!
Good morning and welcome to our
New Monthly Challenge
at Kraftin' Kimmie Stamps!

This month our challenge themes for you are:
Snow/Stencils
You can choose one theme or combine them!
Enter as many times as you like all month long!
It's a Choose Your Own Krafty Adventure!


Every month we post a brand new challenge with a choice of themes to choose from, and a mid month inspiration post with even more creative ideas! You are welcome to enter as many times as you like.

Welcome NOVEMBER!
It's a brand new month so that means....
there's a brand new
Stamp of the Month!
Here's the New You Make Every Day Cool!


Woohoo!
Have you enjoyed all the incredible Krafty Peeks this week?
So many amazing designs and samples from our Krafty Girls featuring our Holiday & Winter Release, wouldn't you agree?
Well....ALL the new stamp sets (including a Krafty Komeback) plus the new sets of stencils are all NOW AVAILABLE in the Krafty Shop!

So grab a beverage, sit back and relax and head out on today's tour and get ready to be inspired!
First up is a magical new Christmas stamp set from artist Sabrina van Vloten called FLAMING HOLIDAYS!


Good morning and welcome to our
FINAL day of October Krafty Peeks!
Today we are revealing our last stamp set which will be releasing tomorrow afternoon at 1pm ET along with all our other stamp sets and stencils!
Today we are revealing...a Krafty Komeback!!

It's called HAVE AN ICE DAY!!
And it was originally released as rubber in 2013!


Today's Krafty Peek features the super cute FLAKY FRIENDS

and the brand NEW Birch Tree Stencil!

These friends are enjoying a lovely winter day at their favourite forest pond!

I applied Nuvo Glimmer Paste in Moonstone through the stneucl, once dry, I misted with Tim Holtz Distress Spritz, I believe in Weathered Wood but I forgot to write it down, lol.
I traced the pond shape from the Build-a-Snowman Stencil on the back of holographic card stock and hand cut for the skating pond.

I used a snow marker on the mittens and hats, popped up the skating snowman with foam adhesive built the pond scene in the lower half of the stenciled card front.
Come back tomorrow for the last day of Krafty Peeks and then join us Saturday, October 12th at NOON EST for the Live Release Party when all the new goodies will be available for purchase!
Enjoy hopping through all the Krafty Team Kreations!
Two posts in a row! Here is a second project for the Altenew June Challenge! I practiced my watercolouring with a page from the Altenew Wa...

