Thursday, March 11, 2021

Pigment Craft Co. Frame Builder: Hello Beautiful


Hello!

I'm super excited about this brand new CANADIAN stamp company, Pigment Craft Co. !

I ordered a few items when the shop launched and my order arrived within a couple of days! Best part of all, no crossing fingers just hoping you won't get hit with duty.

The cards above are created with the Frame Builder: Hello Beautiful Stamp and Stencil Bundle and I'm kicking myself for not picking up the matching die too. 


The frame stamp stamps the leaves and sprigs, then you use the stencil to fill in the buds and blooms, adding details with the stamps from the set. 

This set coordinates with the Recipe Card Builder stamp set which is why it's open on the right side, to fit in the lines to create your recipe card. 

The sentiment is stamped and die cut with the Dashing Sentiments Stamp and Coordinating Die.


For this card I actually trimmed the frame stamp apart and stamped the separated pieces to create a full background panel. 

After inking with the stencil and stamping the details, I went back and added the light pink blooms to fill in the pattern a little more.

The sentiment is stamped on black card stock and then heat embossed with gold embossing powder.


You can create a soft watercolour look very easily as well. To do this, I applied dye ink to the stamp, misted it with water and stamped on watercolour paper.

To do the stencil water colouring you'll apply the ink to a slick surface such as a glass mat or acrylic block, add a little water and then apply the colour to the stencil areas.

 Don't use too much water or it will seep under the stencil, apply it to the middle and gently draw it out towards the edges.


To add the details to the blooms I found the best results by painting the stamp with the watered-down ink so you still get the soft look but don't lose all the details.


This time I heat embossed the sentiment in gold embossing powder directly on the card front, a few black ink splatters and a hint of gold on the edges finish this card off.

Click here to see everything Pigment Craft Company offers. 

This post contains affiliate links, shopping through these are at no extra cost to you and helps support this blog to offer inspiration to you :). I appreciate and thank you for your support!


Thanks for stopping by!

Wednesday, March 3, 2021

{{Hugs}}

Hiya!

I'm sharing a card using one of the Altenew Builder stencils... the Heart Builder Stencil.


This post contains affiliate links, shopping through these are at no extra cost to you and helps support this blog to offer inspiration to you :). 

I appreciate and thank you for your support!

I decided to make a shaker card and started by inking the stencil with Baby Pink and Fuschia ink on an A2 white card stock front.

I then die cut the circle with the largest circle in the Halftone Nesting Circles Die set and laid the panel over a piece of white card stock, tracing the circle. Next, I addy Baby Pink and Fuchsia ink through the Simple Vintage Garden Coloring stencil, keeping the inking within the pencil traced circle. After adding the darker detailed layer, I placed the "base" layer back over the inking and added Nuvo Moonstone Glimmerpaste and set aside to dry.

 Instead of using foam tape to create dimension for the shaker, I die cut the circle from 3 pieces of card stock just a little smaller than A2 size and stacked them together, ensuring the "windows" were lined up and trimming off any white not completely covered by the inked piece. I adhered acetate directly behind the inked panel and then glued all the layers together.

While the panel dried, I die cut "hugs" 3 times from black card stock, stacked together with liquid glue and, when dry, added some Wink of Stella Clear Glitter and adhered to the stencilled background.


I laid the inked/stacked layers card front face down and then added sequins and shaker mix from my stash, prior to adding the shaker mix I marked the back of the card front with a pencil in order to line up the back panel so it showed through the window as I wanted. 

I used a combination of double sided tape and liquid adhesive to glue the panels together and gave it lots of time to dry to ensure there would be no random bits falling out of the shaker.

Finally, I glued the entire panel to an A2, 4 1/2" x 5 1/4" card base.

Thanks for taking a look! 

Happy Crafting!


Friday, February 26, 2021

AECP InstaHop!


Hello!

The Altenew Certified Educators are hopping along on Instagram! Here are all the insta handles and you'll want to follow and leave a comment on each for the opportunity to win a $20 shopping spree in the Altenew store:).

@altenewllc
@rotejas_magic
@kariavan
@taniaahmed
@crown_focus
@irishrosecreations
@treasuresinletters
@sandespoema
@_michelleomurray
@terismailbox
@channellingmarthaau
@yesvirginialu
@notableink
@teresakim16
@altenew_planner_girl
@craftylemur
@karens_mini
@handmadebytasha13
@everyday_expressions
@pixelmavensretreat
@handmadebyteris
@sevenscrafts
@bridgetcaseydesigns
@mylittleatticstudio
@evabussom
@irenemcbeatle
@cardrefinery
@jaycee.gaspar
@mes_cartes_a_moi
@auzztrinkletsncrafts
@rosieneust
@paperaddictpam
@tenianelson

This post contains affiliate links, shopping through these are at no extra cost to you and helps support this blog to offer inspiration to you :). 

I appreciate and thank you for your support!


I've die cut the Cube Cover die twice, slightly offset and glued die cuts together and inked with Wisteria Dye Ink. I then coated the inked stack with Nuvo Moonstone Glimmer Paste.


Blooms are stamped with Embossing Ink on specialty stamping paper with the Wonderland stamp set and heat embossed with Rose Gold embossing powder

I then watercolored them by dropping Persian Blue, Lagoon and Emerald watercolor ink from the watercolor brush markers onto a craft mat, spritzed with water and then pressed the paper down randomly into the ink to "color". Once dry, fussy cut images and adhere large directly to panel with liquid adhesive and the smaller image with foam tape.

Sentiment is from the Sentiments and Quotes set and the entire panel is adhered over Gold Mirror card stock.


For this card I created my own colored card stock with water color paper and watercolor brush markers in Lagoon, Emerald and Persian Blue ink.  I wet the paper with water and then dropped the ink at the top and tipped my paper to allow the ink to run down the page. 
I used a couple of different watercolor papers from my stash and it was interesting to see how they reacted differently. I'll be doing a video on this in the future.

Once the paper dried, I then cut them with the Watercolor Garden dies. Love the size of blooms this makes, will be incorporating these into a scrapbook layout in the future too. I inked white card stock with Buttercream ink to die cut the flower centers from. Sentiment is from the Dearest Friend stamp set.


I had a leftover Stacked Diamonds cover die that was partially cut for a previous project so I used it here, arranging the florals around the open area of the die cut.

Thanks for popping in and taking a look! 

Head to Instagram for all the hop projects, your next IG stop is @paperaddictpam 

Thanks for stopping in!

Thursday, February 25, 2021

Painted Hummingbirds + Virtual Crop Challenge!

 Hello All!

Sharing a couple of cards inspired by a challenge during the Scrap Shotz 

"The Great Staycation" Virtual Crop

I hosted a couple of challenges as well so click the link and join the group to check it all out :).

I made these cards for Genny's CAS challenge, using the Altenew Painted Hummingbirds stamp, watercolor brush markers and Studio Katia gems for the Canadian content :)...


I taped the watercolor card stock down on a clipboard, added water to it and picked up the watercolor ink from my palette I dropped ink from my Altenew watercolor brush markers,  to keep the hues soft, building up the layers to get a more intense color.

Affiliate links are used at no cost to you.


The hummingbirds are stamped with Altenew Permanent Black ink.


Studio Katia Iridescent gems add a little touch of shine!

Thanks for taking a look!

Happy Crafting!


Thursday, February 11, 2021

Altenew Ultimate Watercolor Lovers Blog Hop + Giveaway


Hello All! Welcome here for the:


If you've arrived from the lovely Virginia's blog you're in the right place! 

So excited to join this talented group of creatives for this blog hop, we're celebrating the newest additions to the Altenew family the Watercolor Coloring Book and TWO sets of Artists' Watercolor Brushes!

I love the look of watercoloring but as I am still learning the process I need a BUNCH of practice and this coloring book is just perfect for that! Half the images in the book are printed in a light gray ink so great to practice no-line watercoloring as well.


I watercolored both of these images with Altenew Watercolor Brush Markers using the 'wet on wet' technique for one and 'wet on dry' for the other. 

Coloring the exact same image helps to understand how the ink moves and which technique feels most comfortable.


The bottom two images were colored with the 36 pan set and I definitely need a LOT more practice with this set. Ordinarily I'd never let these see the light of day but we learn from the "mistakes" too.

That being said, I've got a quick little video showing you how made use of these panels I wasn't happy with:


The size of these coloring sheets are perfect for a card front and after coloring this image, I covered the blooms with a piece of paper and splattered a little Jet Black ink with the watercolor brush marker, mounted on a black card base and added the Bold Thanks die cut along with a couple of clear drops from my stash.


Special Offer

To celebrate the release of the watercoloring book, Altenew is running a free gift promotion for a limited time.


  • Shop HERE ** Free gift will be added to cart automatically.


Giveaway Prizes

$300 in total prizes! To celebrate this release, Altenew is giving away a $50 gift certificate to 2 lucky winners and a $20 gift certificate to 10 winners! Please leave a comment on the Altenew Card Blog and/or each designer’s blog post on the blog hop list below by 02/16/2021 for a chance to win. Altenew will draw 12 random winners from the comments left on each stop of this blog hop and announce the winners on the Altenew Winners Page on 02/19/2021.


You're next stop on the hop is Norine Borys and here's the full hop list.


Altenew Card Blog

Jaycee Gaspar

Erum Tasneem

Therese Calvird

LauraJane

Jenny Colacicco

Nicole Watt

Seeka

Emily Midgett

Amanda Baldwin

Virginia Lu

Rosie Neustaedter YOU ARE HERE

Norine Borys

Terri Koszler

Nathalie DeSousa

Karen Brown

Tenia Nelson

Tina Smith

Lilith Eeckels

Verity Biddlecombe

Maryam Perez

Yoonsun Hur

Kelly Latevola


Sunday, February 7, 2021

Altenew Craft-A-Flower: Cosmos


 Hello! It's Altenew Craft-A-Flower release day!


Introducing....Craft-A-Flower: Cosmos!


Want to add Craft-A-Flower: Cosmos layering die set to your craft room? 
Take advantage of the special price on a subscription:


You should have arrived here from  Preeti's blog.

If you haven't started at the Altenew Card blog you may want to return there to ensure you don't miss a stop and leave a comment at each blog for the chance to win a prize!

Each flower is unique on its own and these layered dies provide many opportunities to get a unique looking floral. I'm sharing 3 easy ways to "craft" your Cosmos flowers and really any 3D layered flower die.


Washi Tape


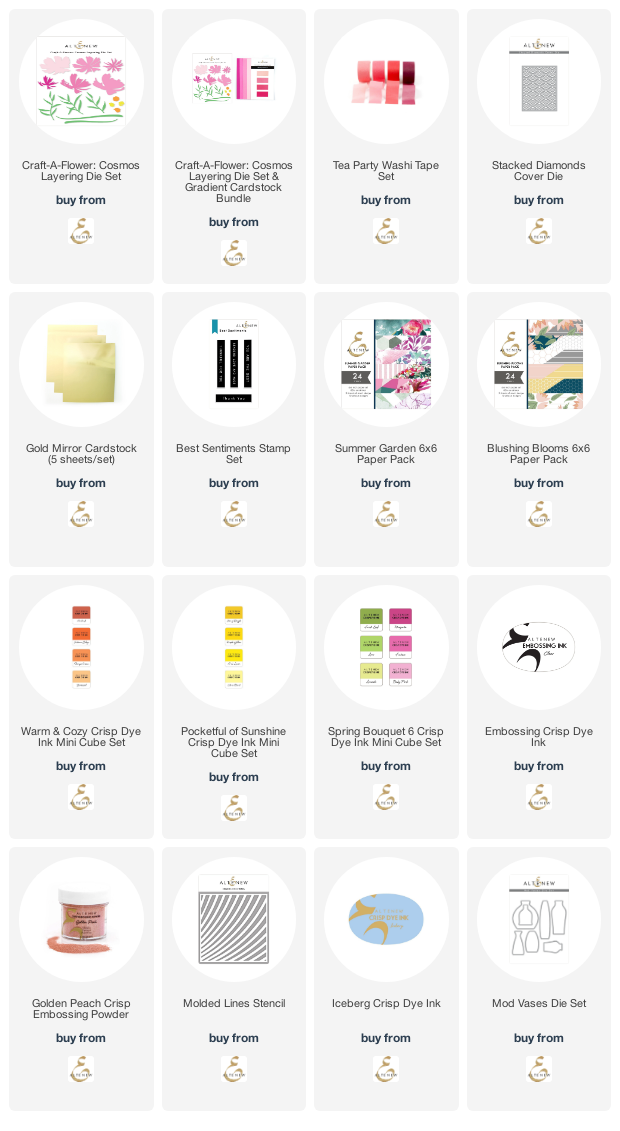
I applied all four colors of Tea Party washi tape to white card stock, this a great way to use those small leftovers we crafters tend to hang on to and often don't get around to using. Then cut the bottom layer from the lightest color of washi tape, the second layer from both the darker mid-tone and light mid-tone, and the third layer of the petal from the darkest tape.

The leaves are cut from scraps of green card stock in my stash and then both flowers and leaves are arranged within the negative space of a Stacked Diamonds Cover Die die cut that I partially cut from Gold Mirror card stock for a different project.


I hand drew a black line from the top of the die cut space to the bottom and embellished with black crystals from my stash after stamping the Best Sentiments stamp set.
Inked Papers


Inking white card stock is a super easy way to customize colors for your Craft A Flowers.

I inked white card stock first and then did all the die cutting. The colors used from left to right, bottom up are:


The flower centers are die cut from orange and yellow card stock. The flowers are then adhered to a piece of paper from the Summer Garden 6x6 paper pack.


The paper has a watercolor-y look so I used the Emerald Watercolor Brush Marker from the Winter Wonderland set to add watercolored stems by hand.
Lastly, the sentiment is heat embossed in Golden Peach Embossing Powder.

Patterned Paper


Patterned paper is another easy way to create unique looking floral layers. These layers are die cut from papers in the Blushing Blooms 6x6 Paper Pack


You want to choose patterns that range from light to dark to create the layers that are darker towards the center of the flower. I applied Iceberg ink through the Molded Lines Stencil to add some color to the background.

The vase is die cut with a die from the Mod Vases Die set out of paper in the Essential Rock Collection 6x6  Paper Pack.


The sentiment is from the Best Sentiments stamp set and a little bling from my stash completes the card.

I so appreciate you taking the time to stop by and leave a comment.

This post contains affiliate links, shopping through these are at no extra cost to you and helps support this blog to offer inspiration to you :). I appreciate and thank you for your support!


Prizes
$200 in total prizes! To celebrate this release, Altenew is giving away a $50 gift certificate to 1 lucky winner and a $15 gift certificate to 10 winners! Please leave a comment on the Altenew Card Blog and/or each designer’s blog post on the blog hop list below by 02/12/2021 for a chance to win. Altenew will draw 11 random winners from the comments left on each stop of this blog hop and announce the winners on the Altenew Winners Page on 02/15/2021.

Your next stop on the hop is


Here's the complete blog hop list:


Background Bonanza! Scrapaganza Class!

***SOLD OUT*** Join me for an  in-person class focused on mass-producing card front backgrounds ! You'll create 8+ backgrounds using ...